How to Format a Write-protected USB Flash Drive
If you can not format the USB flash drive because it is write protected? When you try to format a flash drive, pen drive, or SD card? Some storage devices remobable storage USB flash drive or pen drive then you get a message "write protected" actually windows have protection by refusing to delete or format. If you are stuck with a USB write protect drive that can not be formatted with a "Disk protected write" error, please do not worry! Here's a simple way you can try removing write protections and formatting USB flash drives and pen drives without any hassle.
How to remove and format a USB flash drive & write protected pen drive using Regedit.exe
Click Start, type regedit in the search box, click Regedit.exe to open the Registry editor when you see it displayed at the top of the list. Then navigate to the following key:
Computer \ HKEY_LOCAL_MACHINE \ SYSTEM \ CurrentControlSet \ Control \ StorageDevicePolicies
How to remove and format a USB flash drive & write protected pen drive using Regedit.exe. Double-click on WriteProtect value in the right pane of Regedit.exe. Change the Value data from 1 to 0 and click OK to save the changes we made earlier. Then close Regedit and restart your computer so that the regedit that we change is running.
After that, you can now format the drive as usual by right clicking on My Computer and selecting Format. The "hard disk write write" error message will no longer appear.
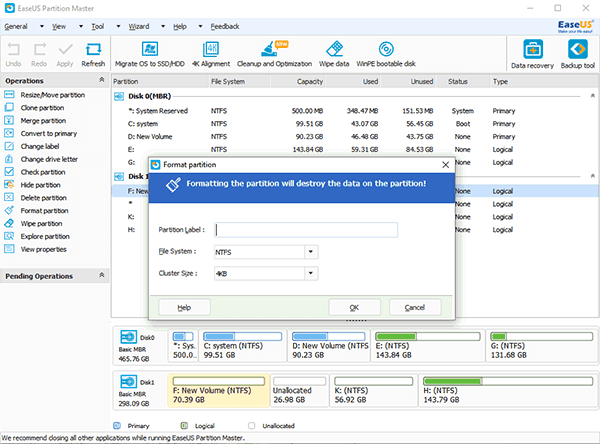
Step 1. Connect your USB flash drive or pen drive to PC, launch EaseUS partition tool. Select and right-click the device you want to format and choose "Format partition" by right-clicking the mouse.

Step 2. Configure the label you want in the Partition Label box.
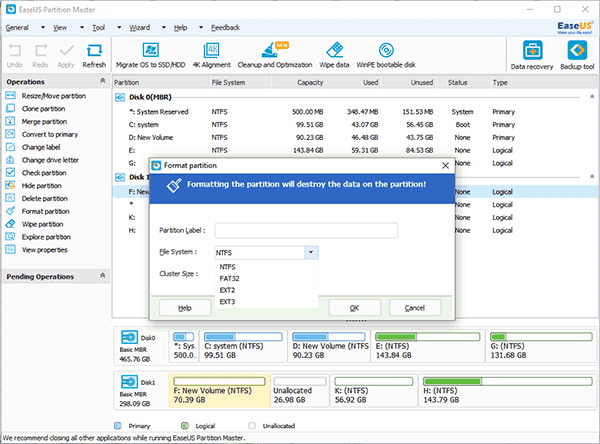
Step 3. Select the file system type to be created from the "File System" drop-down list. (FAT/FAT32, NTFS, EXT2/EXT3). If the USB drive is larger than 4GB, you can only choose FAT32, NTFS or EXT2/EXT3; and if the partition is smaller than 4GB, you can choose FAT, FAT32, NTFS or EXT2/EXT3.
Step 4. Choose the Cluster Size (512 bytes, 1, 2, 4...64KB) from the drop-down list and click "OK" to apply the format operation.
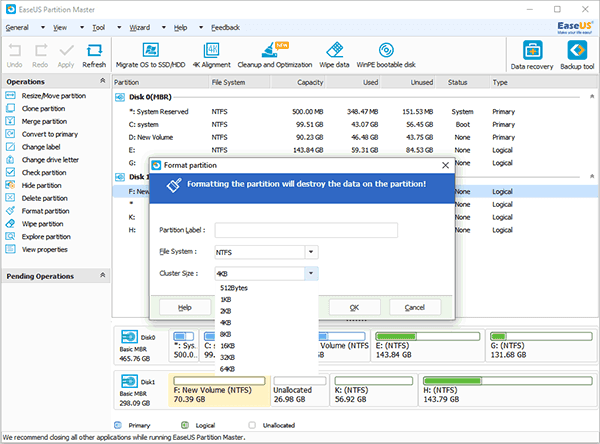
Note: Smaller cluster size makes less wasting of disk space. The smaller cluster size is, the bigger file allocation table (FAT) will be. The bigger the FAT is, the slower the operation system works with the disk.
Step 5. Click "Apply" to confirm to format the write-protected USB flash drive or pen drive.
source : https://www.easeus.com/partition-master/format-a-write-protected-usb-flash-drive.html
0 Response to "How to Format a Write-protected USB Flash Drive"
Post a Comment